Unleash Your Inner Engineer: A Step-by-Step Guide to Building Circuits
Learn how to build your first circuit with this step-by-step guide. From gathering the necessary tools to understanding circuit diagrams and troubleshooting, this guide will help you unleash your inner engineer.
Last Updated: 9/22/2023
Embrace the World of Electronics

The Importance of Circuits as Building Blocks of Electronic Devices
In today's digital age, electronics play a pivotal role in our lives. From smartphones to laptops, from televisions to smart home devices, electronic devices have become an integral part of our daily routines. At the heart of these devices lies a fundamental component known as a circuit.
Circuits are the backbone of all electronic devices. They are responsible for the flow of electricity and the functioning of various components within a device. Without circuits, our electronic devices would not be able to perform their intended tasks.
A circuit is essentially a closed loop that allows electricity to flow through various interconnected components. It consists of electrical elements such as resistors, capacitors, transistors, and integrated circuits. These components work together to control the flow of electricity and perform specific functions.
One of the key advantages of circuits is their versatility. They can be designed and customized to serve different purposes, depending on the requirements of a particular device. This flexibility allows engineers and designers to create a wide range of electronic devices with varying levels of complexity.
Moreover, circuits enable the miniaturization of electronic devices. With advancements in technology, circuits have become smaller and more compact, allowing for the development of portable devices that can fit in our pockets. This miniaturization has revolutionized industries such as healthcare, communication, and entertainment.
Understanding circuits is essential for anyone interested in electronics. It opens up a world of possibilities for innovation and creation. By learning about circuits, individuals can not only understand how electronic devices work but also have the ability to design and build their own devices.
In conclusion, circuits are the building blocks of electronic devices. They are responsible for the flow of electricity and the functioning of various components within a device. Understanding circuits is crucial for anyone interested in electronics, as it empowers individuals to unlock the potential of this exciting field.
Don't Just Browse The Web.
Create It.
First message
Ever wonder what you could do with a website?
Pagesake builds complete, monetizable websites for you in seconds. Actually Free.
Tools and Components for Circuit Building

Essential tools and components needed to build a circuit
Building a circuit requires a combination of tools and components to ensure proper functionality and connectivity. Here are the essential tools and components you'll need:
Tools:
-
Breadboard: A breadboard is a platform that allows you to prototype and connect electronic components without soldering. It has a grid of holes where you can insert wires and components.
-
Wire Cutters: Wire cutters are used to cut and strip the insulation from wires. They are essential for creating connections between components.
-
Wire Strippers: Wire strippers are used to remove the insulation from the ends of wires. They ensure a clean and secure connection.
-
Multimeter: A multimeter is a versatile tool that measures voltage, current, and resistance. It helps troubleshoot and test circuits.
-
Soldering Iron: A soldering iron is used to solder components together. It creates a strong and permanent connection between wires and components.
Components:
-
Resistors: Resistors are used to limit the flow of current in a circuit. They come in various resistance values.
-
Capacitors: Capacitors store and release electrical energy. They are used for filtering, timing, and controlling voltage levels.
-
LEDs: Light-emitting diodes (LEDs) are used to indicate the status of a circuit. They emit light when a current passes through them.
-
Transistors: Transistors are semiconductor devices that amplify or switch electronic signals. They are essential for controlling the flow of current.
-
Diodes: Diodes allow current to flow in one direction and block it in the opposite direction. They are used for rectification and voltage regulation.
-
Integrated Circuits (ICs): ICs are miniaturized electronic circuits that perform specific functions. They include microprocessors, amplifiers, and timers.
-
Breadboard Jumper Wires: Breadboard jumper wires are used to make connections between components on the breadboard. They come in various lengths and colors.
Remember to always follow safety precautions when working with circuits, such as wearing safety goggles and disconnecting power sources when necessary.
You Might Like..
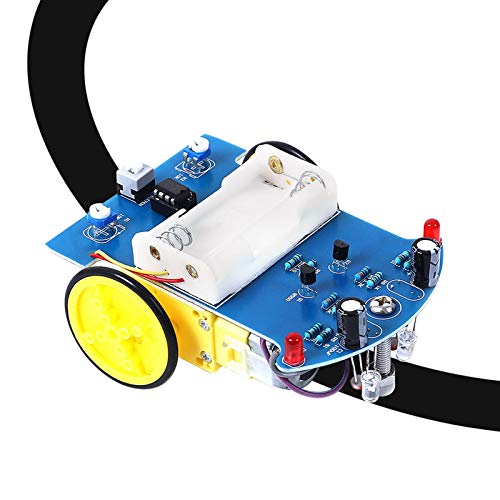
MiOYOOW Practice Soldering Learning Electronics DIY Kit Smart Car TT Motor Soldering Project Kits Line Following Robot Beginners DIY Electronics Education School Competition
MiOYOOW
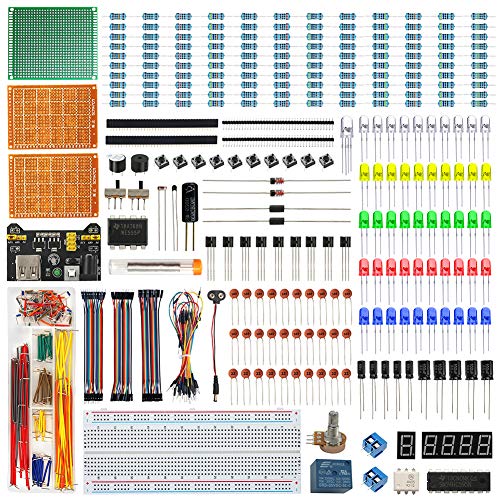
WayinTop Electronics Component Fun Kit w/E-Book, Upgraded Electronic Starter Kit with Breadboard Jumper Wires Kit, PCB Soldering Kit, LEDs & Resisitor Kit for Arduino/for Raspberry pi/ESP32/ESP8266
WayinTop

Snap Circuits Beginner, Electronics Exploration Kit, Stem Kit for Ages 5-9 (SCB-20)
Snap Circuits
Understanding Circuit Diagrams: Decoding the Symbols

How to read and interpret circuit diagrams
Circuit diagrams, also known as schematic diagrams, are graphical representations of electrical circuits. They use standardized symbols to depict the various components and connections in a circuit. Reading and interpreting circuit diagrams is essential for understanding how electrical circuits work. Here is a step-by-step guide to help you decode the symbols in circuit diagrams:
-
Identify the power source: The power source is usually represented by a battery symbol or a circle with a plus and minus sign. It provides the electrical energy that drives the circuit.
-
Recognize the components: Circuit diagrams use specific symbols to represent different components. Some common symbols include:
- Resistors (R): These are represented by zigzag lines and are used to restrict the flow of current.
- Capacitors (C): These are represented by parallel lines and store electrical charge.
- Inductors (L): These are represented by a series of coils and store magnetic energy.
- Diodes (D): These are represented by an arrow and allow current to flow in only one direction.
- Transistors (Q): These are represented by various symbols and are used to amplify or switch electronic signals.
- Integrated circuits (IC): These are represented by rectangular shapes with pins and contain multiple electronic components.
-
Understand the connections: Circuit diagrams show how components are connected using lines. Straight lines represent wires, while curved lines represent connections that are not physically straight. A dot at the intersection of lines indicates a connection point.
-
Follow the flow: The direction of current flow is shown by arrows in circuit diagrams. Arrows pointing towards a component indicate the direction of current entering the component, while arrows pointing away indicate the direction of current leaving the component.
-
Take note of additional symbols: Circuit diagrams may also include other symbols such as switches, fuses, transformers, and more. It is important to familiarize yourself with these symbols to fully understand the circuit diagram.
By understanding the symbols used in circuit diagrams, you can decipher the components and connections in an electrical circuit. This knowledge is invaluable for troubleshooting, designing, and analyzing circuits in various electronic applications.
Don't Just Browse The Web.
Create It.
First message
Ever wonder what you could do with a website?
Pagesake builds complete, monetizable websites for you in seconds. Actually Free.
Step-by-Step Guide: Connecting Components on a Breadboard

Follow these steps to properly connect components on a breadboard:
-
Gather all the components you need for your circuit, including resistors, capacitors, LEDs, transistors, and any other electronic components.
-
Place the breadboard on a clean and flat surface. Ensure that the power supply is disconnected to avoid any accidents.
-
Identify the positive and negative rails on the breadboard. The positive rail is usually marked with a red line, while the negative rail is marked with a blue or black line.
-
Connect the positive terminal of your power source (such as a battery or power supply) to the positive rail on the breadboard. Use a jumper wire to make this connection.
-
Connect the negative terminal of your power source to the negative rail on the breadboard using another jumper wire.
-
Insert the components into the breadboard. Start with the larger components and work your way to the smaller ones.
-
Pay attention to the component orientation. For example, LEDs have a longer leg called the anode and a shorter leg called the cathode. The anode should be connected to the positive rail, and the cathode should be connected to the negative rail.
-
Connect the components together using jumper wires. Use different colors for different connections to make it easier to troubleshoot later.
-
Keep the wiring neat and organized. Avoid crossing wires to minimize the chance of accidental short circuits.
-
Double-check all the connections before applying power to the circuit. Make sure there are no loose connections or wires touching each other.
-
Once you are confident that everything is correctly connected, you can connect the power supply to the circuit and test its functionality.
-
If the circuit doesn't work as expected, carefully review the connections and troubleshoot any issues.
Remember to always follow proper safety precautions when working with electronic components and circuits. Disconnect the power supply before making any changes or adjustments to your circuit.
You Might Like..
Snap Circuits Beginner, Electronics Exploration Kit, Stem Kit for Ages 5-9 (SCB-20)
Snap Circuits
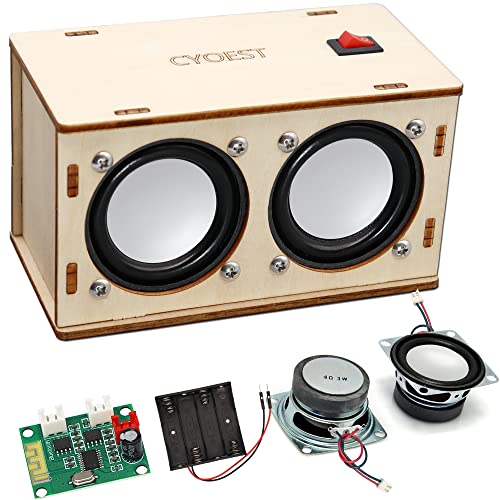
STEM Projects for Kids & Adults Build Your Own Bluetooth Speaker - Science Experiment Electronics Kit | Beginner's Starter DIY Set,STEM Gifts for Teenage Girls + Boys Ages 10 and Up (Dual Speakers)
CYOEST
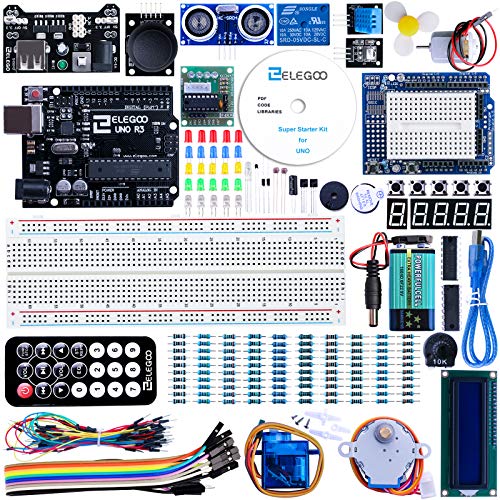
ELEGOO UNO Project Super Starter Kit with Tutorial and UNO R3 Compatible with Arduino IDE
ELEGOO
Importance of Testing and Troubleshooting

Testing and troubleshooting are crucial steps in ensuring that a circuit works properly. These processes help identify and fix common circuit errors, ensuring that the circuit functions as intended. Here are some reasons why testing and troubleshooting are important:
-
Identifying Errors: Testing allows you to identify any errors or faults in the circuit. It helps you determine if the circuit is functioning as expected or if there are any issues that need to be addressed.
-
Ensuring Safety: Testing is essential for ensuring the safety of the circuit and its components. It helps detect any potential hazards or risks that could lead to electrical malfunctions or accidents.
-
Verifying Functionality: Testing helps verify if the circuit performs its intended function. It allows you to check if all the components are working correctly, ensuring that the circuit meets the desired specifications.
-
Optimizing Performance: Troubleshooting helps identify and resolve any performance issues in the circuit. By pinpointing the root cause of problems, you can optimize the circuit's performance and enhance its efficiency.
Overall, testing and troubleshooting are crucial for ensuring the reliability, safety, and functionality of a circuit. By following proper techniques and procedures, engineers can identify and fix common circuit errors, resulting in a well-working circuit.
Don't Just Browse The Web.
Create It.
First message
Ever wonder what you could do with a website?
Pagesake builds complete, monetizable websites for you in seconds. Actually Free.
Related Content

I Got An AI To Write 40000 articles for me.
WOAHere's What Happened.

Crazy Benefits for Business Owners
COOLSUPER intersting article about asdfasdf asdf asdf asdf
FIrst Article
COOLSUPER intersting article about asdfasdf asdf asdf asdf
I Got An AI To Write 40000 articles for me.
WOAHere's What Happened.
Crazy Benefits for Business Owners
COOLSUPER intersting article about asdfasdf asdf asdf asdf
Web Developers HATE him
COOLSUPER intersting article about asdfasdf asdf asdf asdf