Mastering the Art of Troubleshooting Electronics Projects
Learn how to troubleshoot common issues in electronics projects with this comprehensive guide. From poor connections to power supply problems, discover practical tips and techniques to solve problems and ensure project success.
Last Updated: 9/22/2023
The Importance of Troubleshooting in Electronics Projects

Why Troubleshooting Skills are Essential
Troubleshooting is a critical skill in electronics projects that can save both time and frustration. It involves identifying and resolving issues that may arise during the design, assembly, or operation of electronic circuits and systems. While it may seem like an extra step, troubleshooting is an essential part of the development process as it helps ensure the functionality and reliability of the final product.
One of the main reasons why troubleshooting skills are crucial is that electronic projects often involve complex systems with multiple components. It is not uncommon for problems to occur, such as faulty connections, component failures, or incorrect wiring. Without effective troubleshooting skills, it can be challenging to pinpoint the root cause of these issues and find a solution.
By developing strong troubleshooting skills, electronics enthusiasts and professionals can quickly identify and fix problems, saving valuable time and avoiding unnecessary frustration. Troubleshooting allows for efficient problem-solving, reducing downtime and ensuring that projects can progress smoothly.
Moreover, troubleshooting skills are not limited to the initial design and assembly phases of a project. They are equally essential during the testing and debugging stages. By systematically identifying and resolving issues, troubleshooters can uncover hidden problems and fine-tune the performance of electronic systems.
In addition to saving time and frustration, troubleshooting skills can also enhance one's understanding of electronic circuits and systems. The process requires a thorough understanding of the underlying principles and the ability to analyze and interpret data. As troubleshooters tackle various challenges, they gain valuable insights into the behavior of electronic components and develop a more comprehensive knowledge base.
In conclusion, troubleshooting is a vital skill in electronics projects that can significantly impact the success and efficiency of the development process. By acquiring and honing troubleshooting skills, individuals can save time, reduce frustration, improve their understanding of electronic systems, and ultimately deliver high-quality projects.
Don't Just Browse The Web.
Create It.
First message
Ever wonder what you could do with a website?
Pagesake builds complete, monetizable websites for you in seconds. Actually Free.
Issue 1: Poor Connections and Loose Wires

Identifying and Fixing Common Problems
Poor connections and loose wires are common issues that can cause various problems in electronic devices. These issues can result in intermittent or no power, faulty signal transmission, or even device malfunction. It is important to identify and fix these problems to ensure proper functioning of the device.
Identifying Poor Connections and Loose Wires
-
Check for physical signs: Inspect the device for any visible signs of poor connections or loose wires. Look for frayed or damaged wires, loose connectors, or bent pins.
-
Test for power loss: If the device is not receiving power or the power is intermittent, it could be due to a poor connection. Test the power source and cables to determine if they are functioning properly.
-
Check for signal loss: In devices that transmit signals, such as audio or video equipment, poor connections can result in signal loss or distortion. Test different cables and connectors to identify the source of the problem.
Fixing Poor Connections and Loose Wires
-
Secure loose connectors: If you find any loose connectors, tighten them using the appropriate tools. Ensure that the connection is secure, but be careful not to overtighten and damage the connectors.
-
Replace damaged wires: If you notice frayed or damaged wires, it is important to replace them. Cut out the damaged section and strip the insulation from the ends of the wires. Connect the new wires using wire connectors or soldering, depending on the device.
-
Use cable management: Proper cable management can prevent wires from becoming loose or tangled. Use cable ties or clips to secure cables and prevent strain on the connections.
-
Clean connectors: Over time, connectors may accumulate dirt or corrosion, leading to poor connections. Use a cleaning solution specifically designed for electronics to clean the connectors. Ensure that the connectors are completely dry before reconnecting.
By identifying and fixing poor connections and loose wires, you can improve the performance and reliability of your electronic devices. If the problem persists or if you are unsure about the repairs, it is recommended to consult a professional technician.
You Might Like..
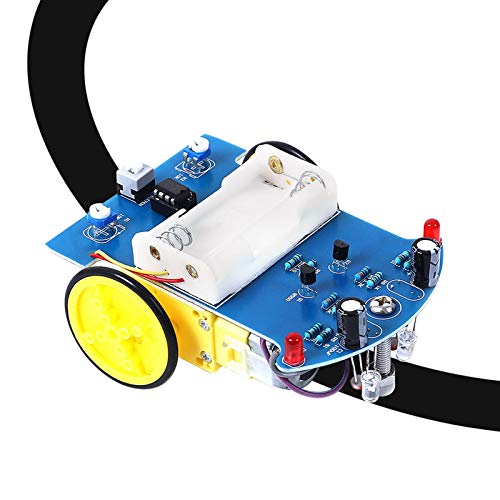
MiOYOOW Practice Soldering Learning Electronics DIY Kit Smart Car TT Motor Soldering Project Kits Line Following Robot Beginners DIY Electronics Education School Competition
MiOYOOW
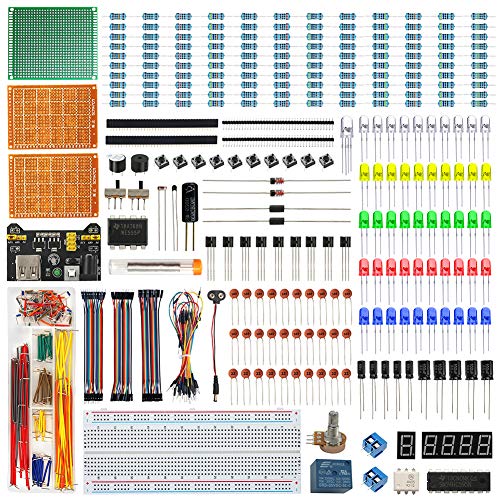
WayinTop Electronics Component Fun Kit w/E-Book, Upgraded Electronic Starter Kit with Breadboard Jumper Wires Kit, PCB Soldering Kit, LEDs & Resisitor Kit for Arduino/for Raspberry pi/ESP32/ESP8266
WayinTop

Snap Circuits Beginner, Electronics Exploration Kit, Stem Kit for Ages 5-9 (SCB-20)
Snap Circuits
Component Failure: Causes and Diagnosing

Understanding the Possibility of Component Failure
Component failure can occur in any electronic device or system due to various reasons. Some of the common causes of component failure include:
-
Overheating: Excessive heat can cause components to degrade and eventually fail. This can be caused by poor ventilation, high ambient temperatures, or excessive power consumption.
-
Power Surges: Electrical surges or fluctuations in power supply can damage components, leading to their failure. This can occur due to lightning strikes, faulty wiring, or sudden power outages.
-
Age and Wear: Components have a limited lifespan, and as they age, their performance may degrade, eventually leading to failure. This can be accelerated by factors like excessive usage or poor maintenance.
-
Environmental Factors: Exposure to moisture, dust, vibration, and other environmental factors can also contribute to component failure.
Diagnosing and replacing faulty components requires a systematic approach. Here are some steps to consider:
-
Visual Inspection: Start by visually inspecting the components for any physical damage, such as burnt marks, bulging capacitors, or loose connections.
-
Testing: Use appropriate testing tools, such as multimeters or oscilloscopes, to check the functionality and performance of the components. This can help identify faulty components that may not show visible signs of damage.
-
Component Replacement: Once a faulty component is identified, it needs to be replaced. This requires sourcing a compatible replacement component and following proper procedures for removal and installation.
-
Testing and Verification: After replacing the faulty component, it is essential to test the system to ensure that the issue has been resolved. This can involve running diagnostic tests, monitoring performance, and checking for any abnormal behavior.
It is worth noting that component failure can sometimes be complex, and it may be necessary to seek professional help or consult technical documentation for specific devices or systems.
Don't Just Browse The Web.
Create It.
First message
Ever wonder what you could do with a website?
Pagesake builds complete, monetizable websites for you in seconds. Actually Free.
Addressing Power Supply Problems

Ensuring a Stable Power Source
A stable power supply is crucial for the smooth functioning of any electronic device. Power supply problems can lead to system crashes, data loss, and hardware damage. It is essential to address these issues promptly and implement troubleshooting techniques to ensure a stable power source.
Identifying Power Supply Problems:
-
Intermittent Power Loss: If your device frequently shuts down or restarts unexpectedly, it may be due to power supply issues. Check if the power cord is securely connected, and there are no loose connections.
-
Voltage Fluctuations: If you notice flickering lights, dimming screens, or unusual noises from your device, it could indicate voltage fluctuations. These fluctuations can damage sensitive electronic components. Use a voltage regulator or surge protector to stabilize the voltage.
-
Overheating: Power supply problems can sometimes result in overheating. If your device becomes unusually hot, it may be due to inadequate power supply or poor ventilation. Ensure proper airflow around the device and consider using additional cooling solutions.
Troubleshooting Techniques:
-
Check Power Connections: Ensure that the power cord is securely connected to both the device and the power outlet. If using a power strip or surge protector, check if it is functioning correctly.
-
Inspect Cables and Connectors: Examine the power cord and other cables for any signs of damage or fraying. Replace any faulty cables or connectors.
-
Test the Power Outlet: Plug in another device or use a voltage tester to check if the power outlet is providing the correct voltage. If the outlet is faulty, contact a qualified electrician.
-
Use a UPS: Consider using an uninterruptible power supply (UPS) to provide backup power during power outages or voltage fluctuations. A UPS can help protect your device from sudden power loss and allow time for proper shutdown.
-
Upgrade Power Supply Unit: If you are consistently experiencing power supply problems, it might be necessary to upgrade the power supply unit (PSU) of your device. Consult a professional technician to determine the appropriate PSU for your device.
By following these troubleshooting techniques and ensuring a stable power source, you can minimize the risk of power supply problems and ensure the smooth operation of your electronic devices.
You Might Like..
Snap Circuits Beginner, Electronics Exploration Kit, Stem Kit for Ages 5-9 (SCB-20)
Snap Circuits
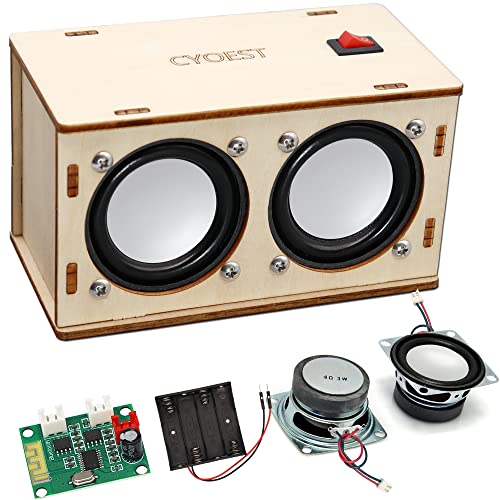
STEM Projects for Kids & Adults Build Your Own Bluetooth Speaker - Science Experiment Electronics Kit | Beginner's Starter DIY Set,STEM Gifts for Teenage Girls + Boys Ages 10 and Up (Dual Speakers)
CYOEST
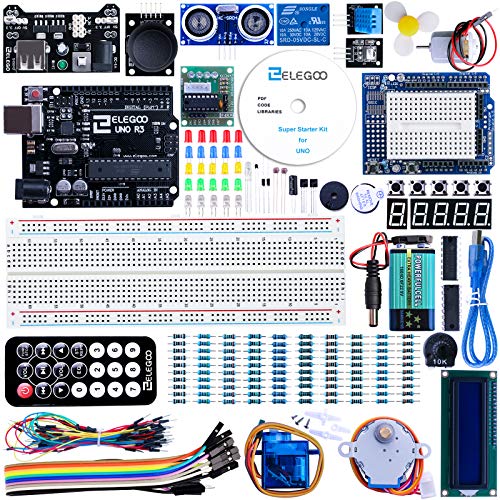
ELEGOO UNO Project Super Starter Kit with Tutorial and UNO R3 Compatible with Arduino IDE
ELEGOO
Impact of Incorrect Circuit Design on Electronics Projects

Incorrect circuit design can have significant impacts on electronics projects, both in terms of functionality and safety. Here are some of the key impacts:
-
Functionality Issues: Incorrect circuit design can result in the failure of the intended functionality of the electronic device. It may cause the device to not work as intended or produce incorrect outputs.
-
Performance Degradation: Incorrect circuit design can lead to performance degradation in terms of signal quality, noise levels, power consumption, and overall efficiency. This can result in poor performance and reduced reliability of the device.
-
Safety Risks: Incorrect circuit design can pose safety risks, such as short circuits, overcurrent, overvoltage, or overheating. It may lead to damage to the circuit components, electrical shocks, or even fire hazards.
To identify and rectify design errors, the following solutions can be implemented:
-
Thorough Design Review: Conduct a thorough review of the circuit design by experienced engineers to identify any potential errors or design flaws.
-
Simulation and Analysis: Utilize circuit simulation software to simulate and analyze the behavior of the circuit before implementation. This helps in identifying any potential issues and optimizing the design.
-
Prototype Testing: Build a prototype of the circuit and perform extensive testing to validate its functionality and performance. This allows for early detection and rectification of any design errors.
-
Peer Review and Collaboration: Seek feedback and input from fellow engineers or experts in the field. Collaborative design reviews can help identify errors and provide valuable insights for improvement.
-
Continuous Learning and Improvement: Stay updated with the latest advancements and best practices in circuit design. Continuous learning and improvement can help prevent design errors and enhance the overall quality of the circuit design.
By implementing these solutions, the impact of incorrect circuit design can be minimized, leading to improved functionality, performance, and safety of electronics projects.
Don't Just Browse The Web.
Create It.
First message
Ever wonder what you could do with a website?
Pagesake builds complete, monetizable websites for you in seconds. Actually Free.
Related Content

I Got An AI To Write 40000 articles for me.
WOAHere's What Happened.

Crazy Benefits for Business Owners
COOLSUPER intersting article about asdfasdf asdf asdf asdf
FIrst Article
COOLSUPER intersting article about asdfasdf asdf asdf asdf
I Got An AI To Write 40000 articles for me.
WOAHere's What Happened.
Crazy Benefits for Business Owners
COOLSUPER intersting article about asdfasdf asdf asdf asdf
Web Developers HATE him
COOLSUPER intersting article about asdfasdf asdf asdf asdf